Welcome to the arc raiders Wiki
Your complete one-page guide to Arc Raiders , the 2025 third-person PvPvE extraction shooter. Find everything you need to survive topside, from detailed map guides and trader inventories to full weapon breakdowns. Use the menu on the left to jump to a section.
❓ What is Arc Raiders?
Arc Raiders is a free-to-play, third-person PvPvE extraction shooter developed by Embark Studios. Set in a desolate future, you play as a Raider, fighting to retrieve valuable resources from a planet protected by an automated threat known as ARC.
This arc raiders Wiki is a complete community guide dedicated to documenting every aspect of the game. Our goal is to provide the most accurate and up-to-date information on:
🚀 Beginner's Guide: Your First Raid
Starting out in Arc Raiders can be tough. Your first goal is to learn the map, gather some basic gear, and successfully extract. Here is a simple checklist for your first few raids.
- Gear Up: Visit Tian Wen for a cheap weapon (like the Rattler) and Lance for a Light Shield and a Med-Kit.
- Choose Your Map: Stick to the Dam Battlegrounds. It's the most beginner-friendly map in Arc Raiders.
- Find a Key: Your priority is to find a Raider Hatch Key. They can be found in loot crates or purchased from Shani before the raid.
- Loot Smart: Avoid major POIs and boss areas. Focus on smaller, unnamed compounds to find materials you can sell to Celeste.
- Extract Early: Once you have the key and some loot, don't get greedy. Head to the nearest Raider Hatch (marked on your map) and extract. Surviving is the #1 goal.
As you get more confident, you can start exploring high-tier loot zones and taking on other players. This arc raiders Wiki has detailed guides for every step of your journey.
Equipment
Weapons
Weapons are your primary offensive tools, sold and modified by the trader Tian Wen. This data-rich table lists all known weapons in Arc Raiders. On mobile, you can scroll the table horizontally.
Assault Rifles
| Weapon | Image | Ammo Type | Firing Mode | Damage | Firing Rate | Relative DPS | Range |
|---|---|---|---|---|---|---|---|
| Kettle |  |
Light | Semi-Automatic | 10 | 282 | 80 | 42.8 |
| Rattler | 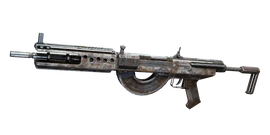 |
Medium | Fully-Automatic | 9 | 33.3 | 299.7 | 56.2 |
| Arpeggio | 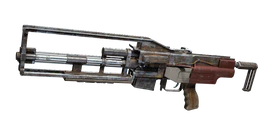 |
Medium | 3-Round Burst | 9.5 | 18.3 | 173.9 | 55.9 |
| Tempest |  |
Medium | Fully-Automatic | 10 | 36.7 | 367 | 55.9 |
| Bettina | 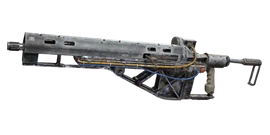 |
Heavy | Fully-Automatic | 14 | 32 | 448 | 51.3 |
Battle Rifles
| Weapon | Image | Ammo Type | Firing Mode | Damage | Firing Rate | Relative DPS | Range |
|---|---|---|---|---|---|---|---|
| Ferro | 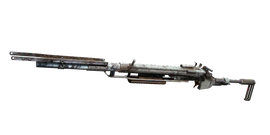 |
Heavy Ammo | Break-Action | 40 | 6.6 | 264 | 53.1 |
| Renegade | 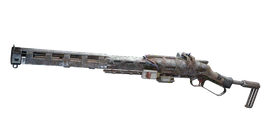 |
Medium Ammo | Lever-Action | 35 | 21 | 735 | 68.8 |
SMGs
| Weapon | Image | Ammo Type | Firing Mode | Damage | Firing Rate | Relative DPS | Range |
|---|---|---|---|---|---|---|---|
| Stitcher |  |
Light Ammo | Fully-Automatic | 7 | 45.3 | 317.1 | 42.1 |
| Bobcat | 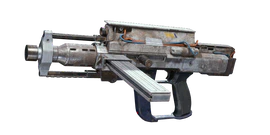 |
Light Ammo | Fully-Automatic | 6 | 66.7 | 400 | 44 |
Shotguns
| Weapon | Image | Ammo Type | Firing Mode | Damage | Firing Rate | Relative DPS | Range |
|---|---|---|---|---|---|---|---|
| Il Toro | 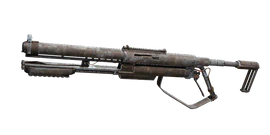 |
Shotgun Ammo | Pump-Action | 67.5 | 14.3 | 965.3 | 20 |
| Vulcano | 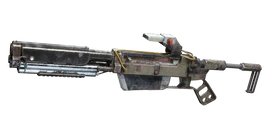 |
Shotgun Ammo | Semi-Automatic | 49.5 | 26.3 | 1,302.9 | 26 |
Handguns
| Weapon | Image | Ammo Type | Firing Mode | Damage | Firing Rate | Relative DPS | Range |
|---|---|---|---|---|---|---|---|
| Hairpin | 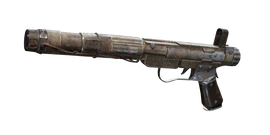 |
Light Ammo | Slide-Action | 20 | 9 | 180 | 38.6 |
| Burletta | 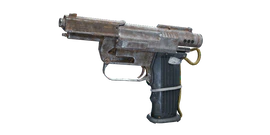 |
Light Ammo | Semi-Automatic | 10 | 28 | 280 | 41.7 |
| Anvil | 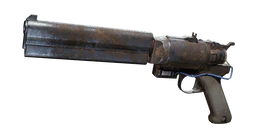 |
Heavy Ammo | Single-Action | 40 | 16.3 | 652 | 50.2 |
| Venator |  |
Medium Ammo | Semi-Automatic | 18 | 36.7 | 660.6 | 48.4 |
LMGs
| Weapon | Image | Ammo Type | Firing Mode | Damage | Firing Rate | Relative DPS | Range |
|---|---|---|---|---|---|---|---|
| Torrente |  |
Medium Ammo | Fully-Automatic | 8 | 58.3 | 466.4 | 49.9 |
Sniper Rifles
| Weapon | Image | Ammo Type | Firing Mode | Damage | Firing Rate | Relative DPS | Range |
|---|---|---|---|---|---|---|---|
| Osprey | 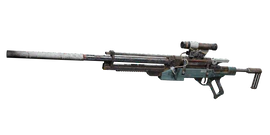 |
Medium Ammo | Bolt-Action | 45 | 17.7 | 796.5 | 80.3 |
| Jupiter | 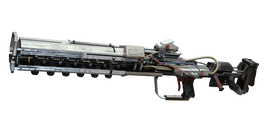 |
Energy Clip | Bolt-Action | 55 | 7.7 | 423.5 | 71.7 |
Special Weapons
| Weapon | Image | Ammo Type | Firing Mode | Damage | Firing Rate | Relative DPS | Range |
|---|---|---|---|---|---|---|---|
| Equalizer | 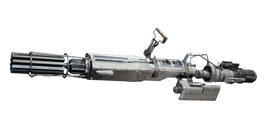 |
Energy Clip | Fully-Automatic | 8 | 33.3 | 266.4 | 68.6 |
| Hullcracker |  |
Launcher Ammo | Pump-Action | 100 | 20.3 | 2,030 | 38.9 |
Augments
Augments are special abilities that define your playstyle. You can find them in raids or purchase them from traders. You can typically equip one tactical and one passive augment.
Grants temporary visual camouflage. Perfect for repositioning or escaping a fight. Be careful, as movement and "shimmer" can give you away.
Deploys a small, forward-facing energy shield that blocks incoming fire. Ideal for reviving teammates or holding a chokepoint.
Pings the location of nearby enemies who have recently taken damage. Excellent for finishing off a wounded squad.
Shields
Shields are your first line of defense, sold by Lance. They absorb damage before your health and recharge over time. They come in three main variants:
- Light Shield: Low capacity, but recharges very quickly. Favored by aggressive players who can dip in and out of cover.
- Medium Shield: The all-rounder. A balanced shield capacity and recharge rate, suitable for any loadout.
- Heavy Shield: Massive capacity, but a very long recharge delay. Best for tanking damage and players who prefer calculated, long-range fights.
Healing
Healing items, also sold by Lance, are used to restore your Health (HP) after your shield breaks.
- Med-Kit: The standard healing item. Takes 5 seconds to use and restores a large chunk of health.
- Stim: A quick-use injection. Provides rapid health regeneration for a short duration. Great for healing while on the move.
Quick Use
These are utility items for your tactical slots.
- Raider Hatch Key: Sold by Shani. A one-time-use key required to open Raider Hatches for quick extraction.
- Repair Tool: Repairs your armor and shield integrity if they become "shattered" from heavy damage.
Grenades
Explosives and throwables sold by Apollo.
- Frag Grenade: Standard timed explosive. High damage in a small radius.
- EMP Grenade: Deals massive damage to ARC shields and temporarily disables robotic enemies and enemy augment abilities.
- Smoke Grenade: Creates a visual smoke screen to block sightlines.
Traps
Deployable items to ambush enemies or defend a location.
- Laser Mine: A deployable mine that triggers when an enemy crosses its laser.
- Shock Trap: A proximity trap that detonates with an EMP blast, stunning players and disabling robotics.
Maps
Dam Battlegrounds

The primary starter map. A large, open environment centered around a massive dam. Features a mix of long-range outdoor fights and close-quarters indoor locations.
- Key POIs: Control Tower, Research & Administration, Pumping Station.
- Threat Level: Low to Medium. Good for learning the game.
The Spaceport
A more vertical and complex map set in a derelict rocket launch facility. Features many multi-level buildings and tight corridors.
- Key POIs: Launch Pad, Assembly Building, Fuel Depot.
- Threat Level: Medium. Rewards map knowledge.
Buried City
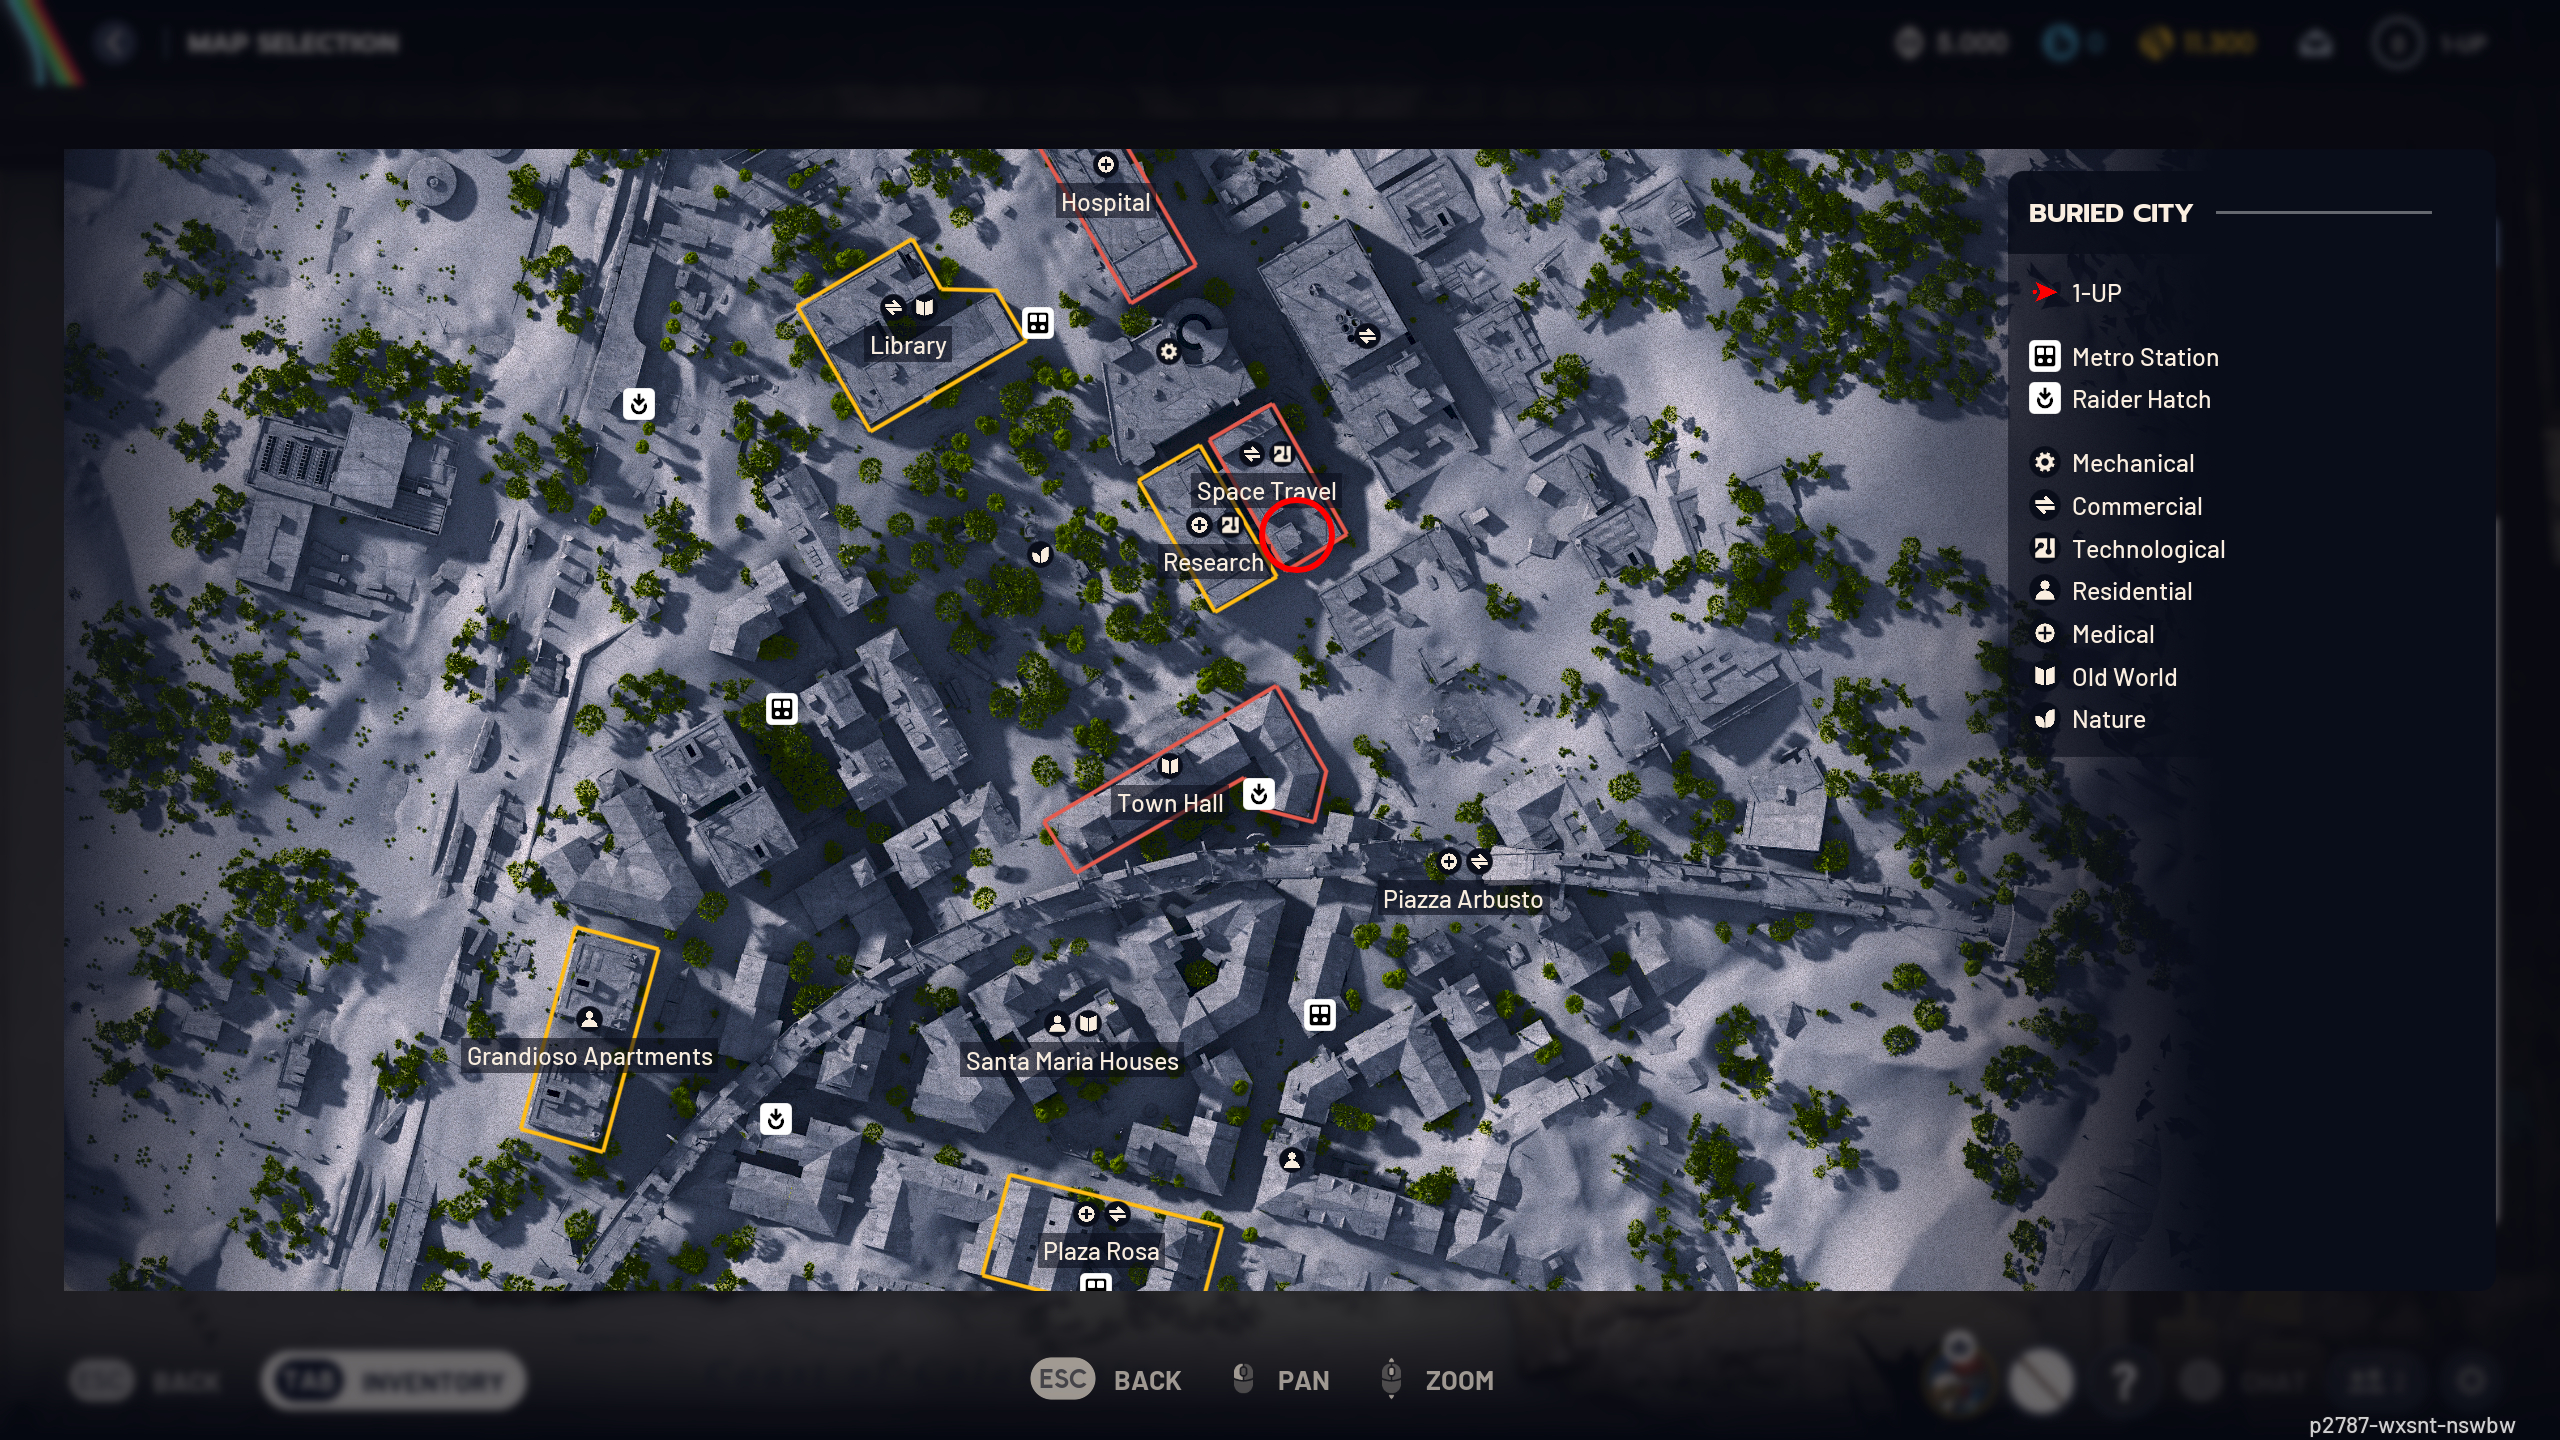
An underground map set in a city reclaimed by nature. This map is dark, claustrophobic, and focuses heavily on close-quarters combat (CQC).
- Key POIs: Sunken Plaza, Subway Tunnels, Central Hub.
- Threat Level: Medium to High. Bring shotguns and SMGs.
The Blue Gate
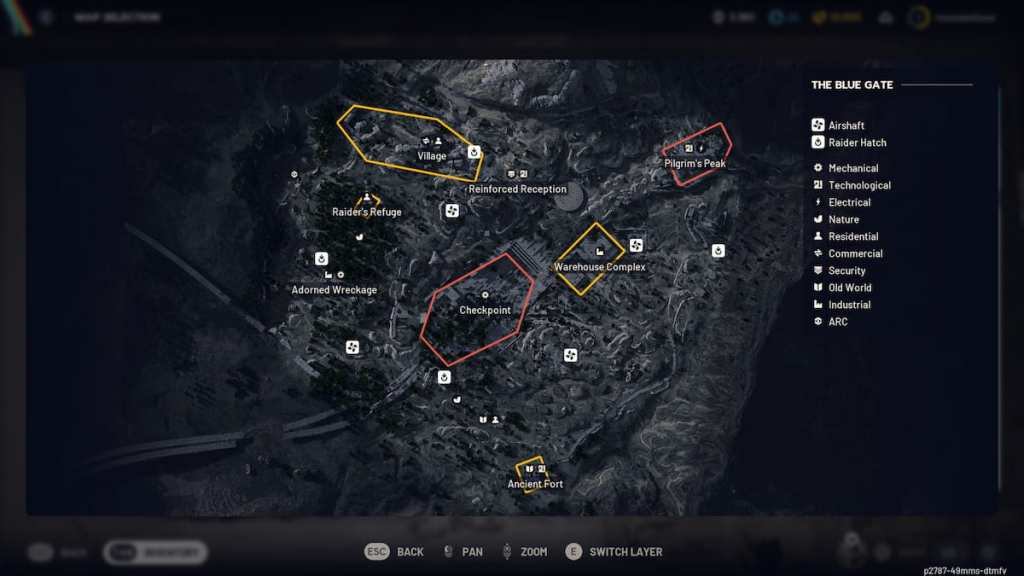
A high-tier, late-game map. This is where you go for the best loot and the hardest fights against both high-level ARC enemies and geared players.
- Key POIs: The Gate, Data Center, Containment Labs.
- Threat Level: Very High. Do not come here under-geared.
Traders
Traders are your lifeline in the Speranza hub. You sell them scavenged items and complete missions for them to gain access to their unique inventories.
Celeste
The Naturalist. Celeste deals in natural resources and crafting components. She is your primary source for trading common scavenged items (like seeds) for basic materials.
Shani
The Infiltrator. Shani provides security and tactical gear. Most importantly, she sells the **Raider Hatch Key**, which is essential for most extractions.
Tian Wen
The Weaponsmith. Your go-to for all things firearms. Tian Wen sells a rotating stock of weapons, attachments (scopes, magazines, grips), and ammunition.
Apollo
The Demolitions Expert. Apollo loves things that go "boom." He sells all throwables, including **Frag Grenades**, **EMP Grenades**, and deployable **Traps**.
Lance
The Android Medic. Lance is the quartermaster for all defensive and medical supplies. He sells **Shields** (Light, Medium, Heavy) and **Healing** items like Med-Kits and Stims.
🤖 ARC Enemies (Characters)
The primary antagonists in Arc Raiders are the ARC, a robotic army defending the planet's resources. Understanding these mechanical "characters" and their behaviors is key to survival.

The basic melee unit. Leapers attack in swarms and try to close the distance quickly. Easy to kill, but dangerous in large numbers.
A common ranged unit. Fires explosive rockets that deal heavy damage. Prioritize these enemies and shoot their rockets out of the air if you can.
A small, flying enemy that often accompanies larger bots. They are lightly armored but can be difficult to hit and will harass you from above.
A massive, boss-level enemy. Titans are heavily armored and have multiple weapon systems. Attacking their glowing red weak points is essential to taking them down.